Tables on slides
How to create and edit tables on slides in Seidat.
Tables are a powerful way to organize and display data in your Seidat presentations; they help convey information clearly and concisely, making your presentations more effective.
1. Inserting a table
Navigate to the slide where you want to insert the table.
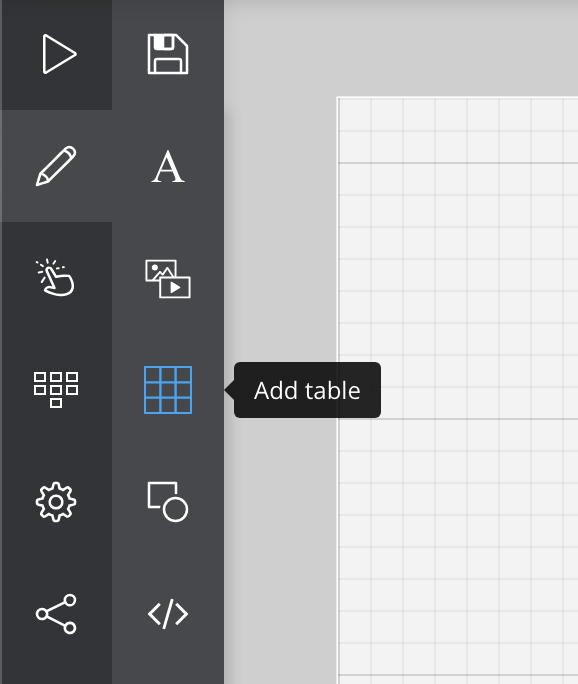
Click on the table icon on the left side of the slide to add a new table to the slide (see the image below)

2. Adjust the table structure
After inserting the table, you'll see a basic grid layout
You can modify the number of rows and columns by clicking the plus and minus icons on the table's edges
You can drag the side of an individual row or column to make it wider or narrower
3. Editing table content & Formatting cells
Click on any cell within the table to enter your data. You can type text, numbers, or any characters.
Customize the appearance of your table by selecting cells or groups of cells and using the formatting options above the slide. You can change the text alignment, font, size, color, and more to match your presentation style.
You can adjust the borders' thickness and color and the color of the cells from the formatting options above the slide. Choose "No fill" if you want your cells to be transparent (see image below)

Keyboard shortcuts
Enter takes you one cell down
Shift+Enter takes you one cell up
Mac users: Cmd+Enter; Windows users: Ctrl+Enter puts a new line in the cell
Tab takes you one cell to the right
Shift+Tab takes you one cell left
