Adding and editing the shapes

Shapes can be added with the shape tool. Shapes are a versatile way to make your presentation look alive.
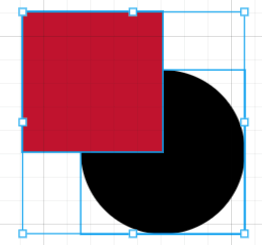
You can add different shapes to your presentation by clicking the shape selector icon (square and circle) on the left toolbar.

After adding a shape or multiple shapes, you can edit them separately or all simultaneously. You can multi-select by keeping the SHIFT button pressed from the keyboard once you click the shapes or by dragging your mouse over all the shapes.
You can resize the shape by dragging from the corner or the side
Once you have the shape or shapes selected a toolbar will appear at the top of the slide editor.

You can lock elements to make them inaccessible to editors. You can also lock the position of the element (the position can't be changed, but the color can be)
The element can be unlocked from the Editor panel on the right side of the slide. If you don't see the Editor panel, it can be accessed from the button at the top right corner


You can copy elements.
You can paste the copied element.
You can delete the element (also by pressing backspace)
You can bring elements forward
You can bring elements backward
You can edit the transparency of the element
You can edit the color of the element
You can change the shape
You can link internally (to another page) or externally to an outside webpage.
You can add animation
You can undo changes
You can redo changes.
Different ways to use shapes
Text box
Shapes can be used in many ways to improve the slides. Here is an example of using a white shape behind the text to separate it from the background. The white box's opacity has been dropped to 50%, and it has been resized to fill the screen from top to bottom.
Two smaller shapes have been added between the page title and the body text. The grey shape's opacity has been dropped down to 40%.
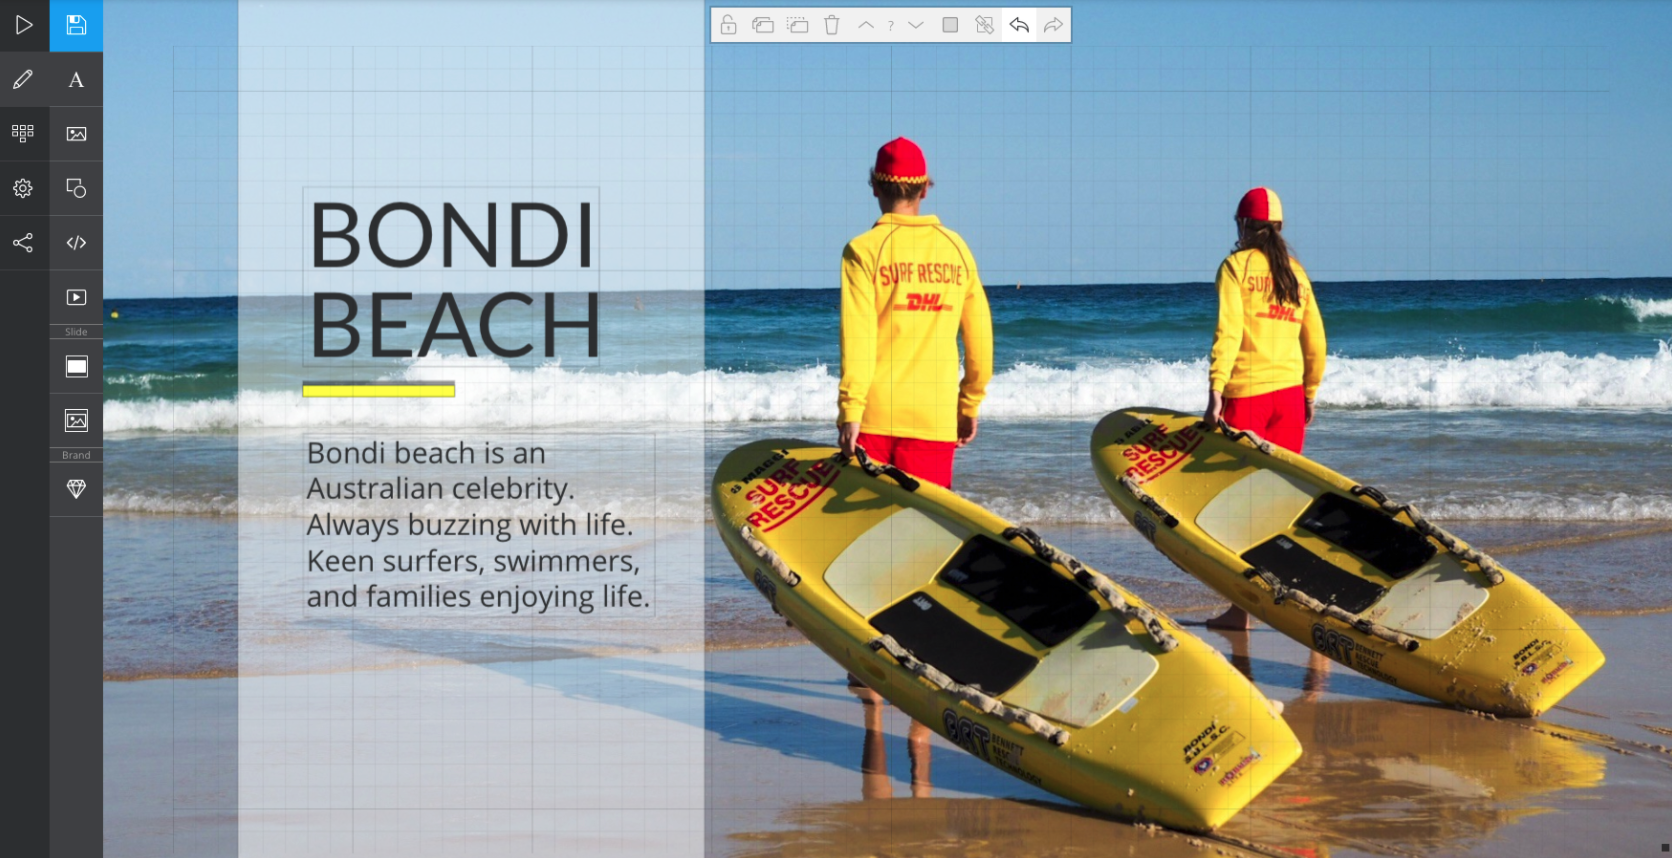
Here is the same page in play mode:

Adding a color filter (layer) to the background image
You can make the text stand out more from the background by making the background image darker or lighter.
The text on the image below does not stand out enough. We can add a dark layer to the slide.
Without the dark layer:

With the dark layer:

Instructions on how to create layers on slides
Start by creating a new shape. As a default, that shape is black.
If you want to make the image darker, edit the opaque level to fit the darkness required from the shape's color settings above the slide. We are using 30 in the example:

If you want to make the image lighter, change the shape to white and edit the opaque level to fit the level required.
Make the shape large enough to cover the background image in all scenarios (when viewing with a mobile or wider screen, for example). Navigate to "Object transform" on the right side of the slide and change the element position (in the example -5000 & -5000) and element size (in the example 10000 x 10000).

This can also be done manually by stretching the shape and moving it with your mouse.
Move the layer to the bottom of the element stack (sending it backward behind all other elements; the background image is always "behind" all other elements).
You can change the location when the shape is active from the arrows on the top bar next to where you change the color.

Or from the element stack that is located in the "Properties" -tab that can be accessed from the top right corner of the edit screen.

Lock the shape to make later editing easier. Locking prevents accidentally selecting the shape. Locking can be done from the Element stack on the right or from the top of the slide.
 OR
OR 
If you want to add a layer on top of the image that is other than white or black, select the color you wish to add. Note that the result might not be as good as the result you would achieve with a dedicated image editor (e.g., Photoshop, Lightroom, etc.)